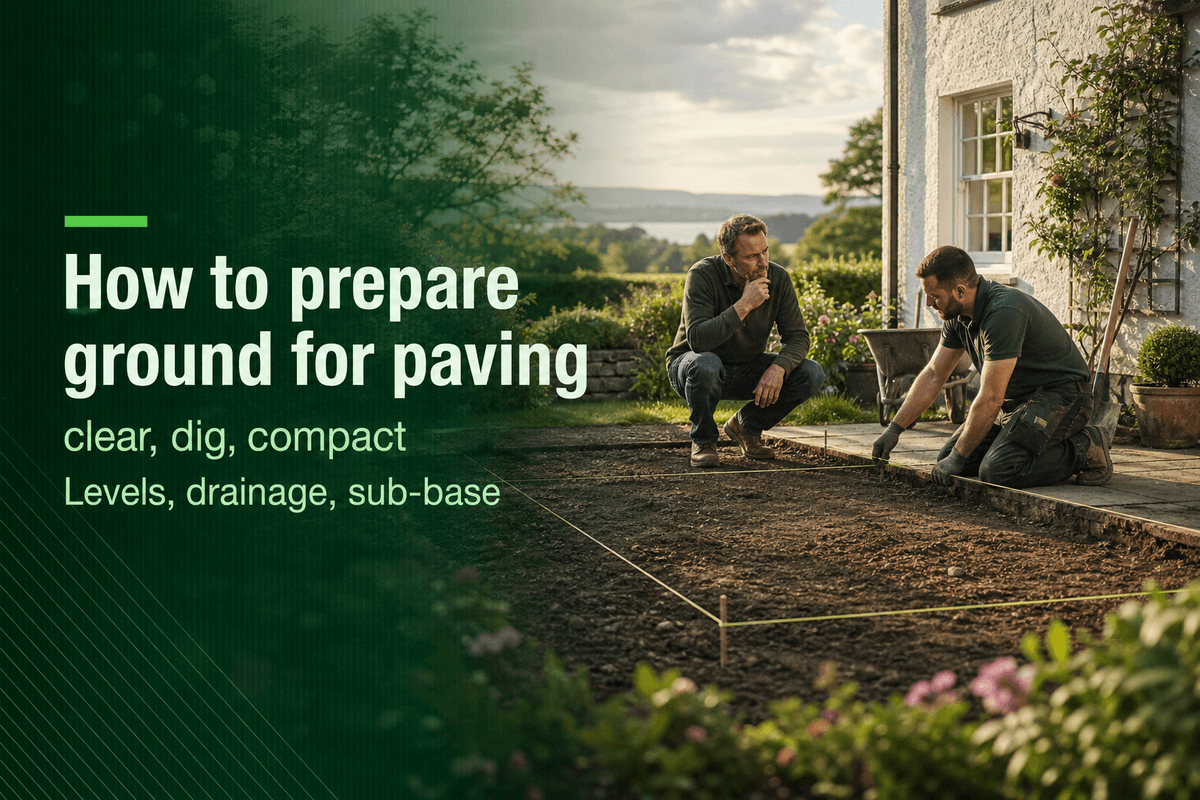
Clear and dig out the area, set a steady fall away from the house, build and compact a sub-base, then fix edging and a bedding layer before paving.
/10 min read
Preparing ground for paving comes down to a set sequence: clear the area, dig out to the right depth, set a steady fall away from the building, check the soil and where water will go, build and compact a sub-base in layers, fix edge restraints, and lay a levelled bedding layer before the paving goes down. Get those steps right and the finished patio, path or driveway stays flat, sheds rain and keeps its joints together; rush them and even good paving rocks, sinks or holds water within a season or two. Where the digging, spoil removal and compacting is more than a household wants to take on, local driveways and paving help can be brought in for the ground preparation stage alone.
Clearing the area and digging out
Mark the outline first. Pegs and a string line suit straight edges, while a hose laid on the ground or a trickle of sand marks curves. Run the line slightly wider than the finished paving so the edge restraints finish inside the excavation rather than outside it.
Strip the turf with a spade or a turf cutter, cutting it into sods and stacking them green side down out of the way, where they can be reused elsewhere in the garden or left to rot into topsoil. Lift out roots, large stones, old slab fragments and rubble, and keep that waste separate from anything worth keeping.
Dig out to the full build-up: paving, bedding layer, compacted sub-base and edge restraint. In plain terms, that means going noticeably deeper than the thickness of the paving itself. Spoil goes onto a tarpaulin rather than straight onto the lawn, and excavated subsoil is never used as sub-base.
Wear gloves for turf and stone, eye protection and a dust mask when breaking out concrete or cutting dry, ear defenders for a breaker or compactor, and boots with a grip. If anything in the dig looks like a pipe, duct or cable, stop and identify it before going further. If soft ground is turning underfoot, let it dry out and firm up before any stone is tipped.
Setting the levels and the fall
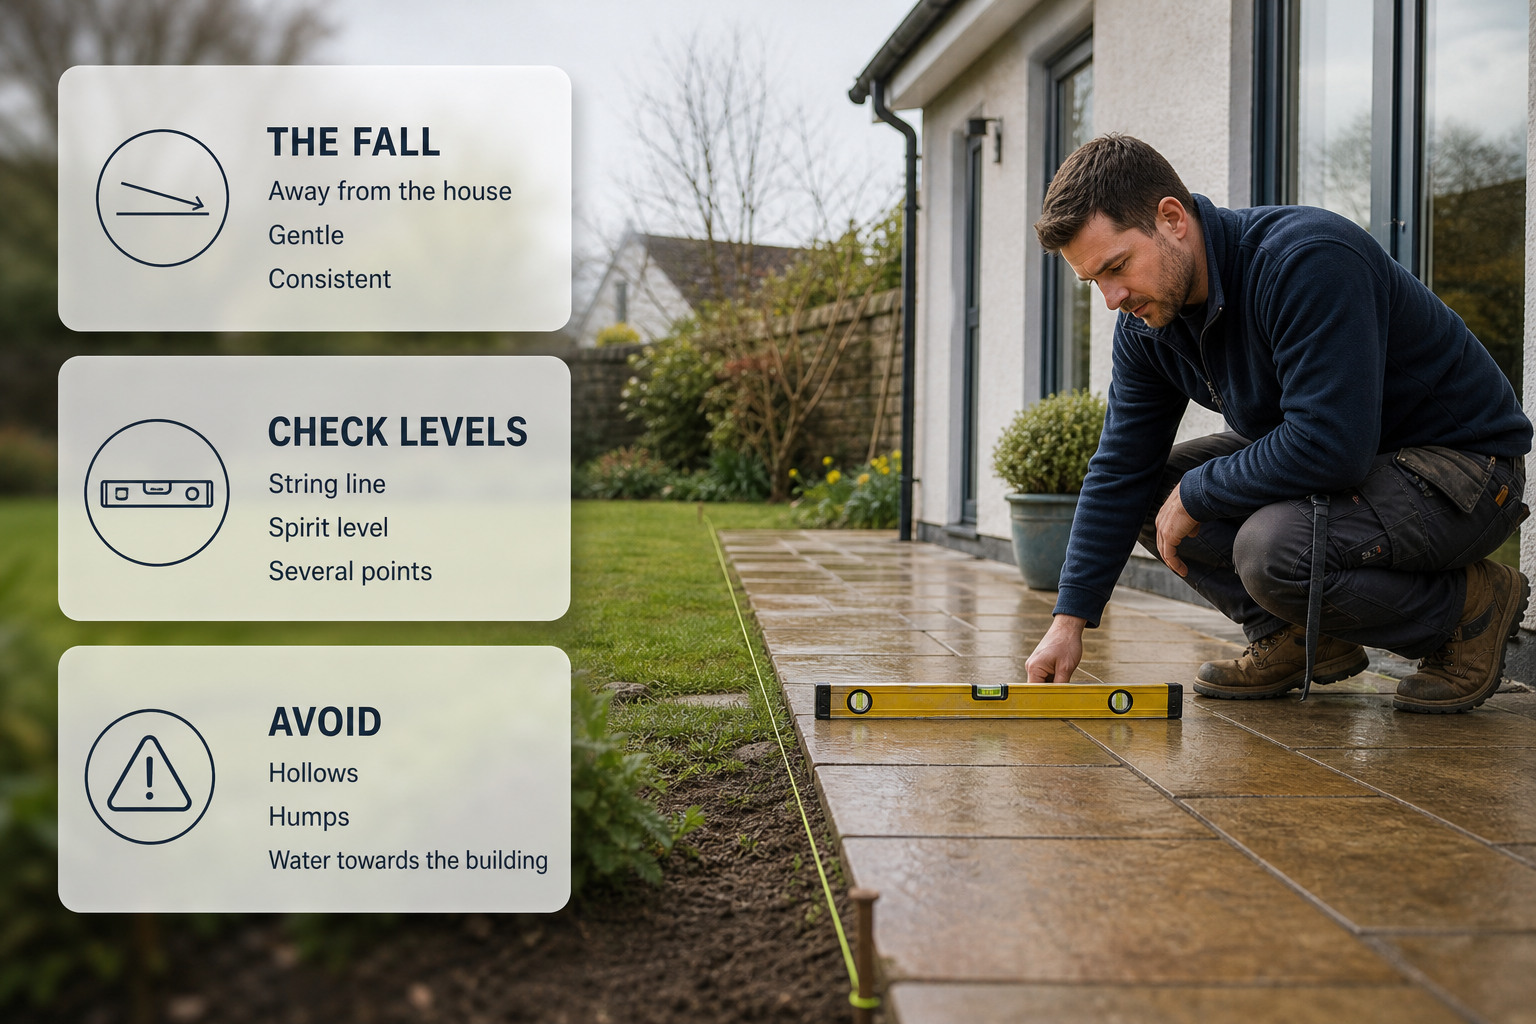
Outdoor paving has to shed water. On a patio the fall normally runs away from the house; on a path it can run along the path or across it, whichever suits the ground. What matters is that the fall is gentle, that it is consistent across the whole area, and that no part of the surface sends water towards the building.
Set a string line or a long straight edge out from the house and check it with a spirit level at several points rather than trusting the eye. The finished paving should also sit below the damp-proof course of the house, so run-off cannot bridge into the wall.
Hollows and humps cause most of the trouble later. A dip holds water and settles further once there is weight on it; a high spot makes the paving rock. Put pegs at the corners and along the edges, mark the finished level on them, and check the lines before a single stone of sub-base is tipped. The sub-base and the bedding layer are built to that same set of levels, so time spent here saves work further on.
Checking soil, drainage and moisture
Once the excavation is open, look at what has been exposed. Sandy or gravelly ground drains well and needs less caution. Clay holds water, turns slippery underfoot and swells and shrinks with the seasons, and it is where a lot of paving failures begin. A bucket of water poured into the hole is a quick test: if it drains away steadily, the ground is taking water; if it still sits there hours later, water will also sit under anything built on top.
Paving sheds water across its whole surface, so a patio or driveway can send a lot of run-off to one edge. If the ground underneath cannot take it, plan for that water to reach a gully, channel drain or soakaway rather than a wall or a neighbour's garden. If the work changes how water leaves the site, or forms part of a wider project, the homeowner should confirm current requirements with the local authority before starting.
Building and compacting the sub-base
The sub-base, still often called hardcore, is the layer of crushed stone that spreads the weight of people and cars over the ground so the paving above it does not sink. It is the part of the job that decides whether the paving lasts.
How deep it needs to be depends on two things: what will travel over the paving, and what is underneath it. A path or patio where only people walk needs a shallower build-up than a driveway where cars are parked, and soft or clay ground needs more than firm, gravelly ground. The build-up is always done in layers, each one kept shallow enough for a plate compactor to work right through it, because a single deep tip of stone stays loose in the middle no matter how long it is compacted. Whoever supplies the stone, or the contractor doing the groundwork, should confirm the depth that suits the job. As a common rule of thumb, a patio or path takes around 100 to 150 mm of compacted stone and a driveway around 150 to 200 mm, more on soft ground.
Use clean, graded crushed stone rather than soil, clay, soft rubble or old bricks with plaster on them. Tip it in small loads, spread it with a rake to the levels already set, and compact with a plate compactor in overlapping passes, first one way and then at right angles. Check levels and fall as the layers go down; the finished sub-base should mirror the finished surface so the bedding layer ends up the same thickness everywhere. If rain has disturbed it, or it has been walked over for days, compact it again. A contractor who spends their week on construction and home renovation work will usually have the compactor and the levels habit already.
Clay soil and poor drainage
Clay needs care. Wet clay holds water on the surface, and a spade or a boot can turn the base of an excavation into a slick pan that seals it further. Dry clay shrinks and cracks, and anything above it moves with the seasons. Two problems follow: water standing in the hole before the sub-base goes in, and water reaching the sub-base later with nowhere to go.
On heavy clay, options include digging out a little more and bringing in clean, well-graded stone; roughening the base of the excavation so water can move down into it instead of sheeting across it; and laying a lightweight woven geotextile over the clay before the stone goes down, which keeps the layers separate and stops clay being pumped up into the sub-base as it is compacted. If water still gathers after that, the usual answer is a drainage run or a soakaway rather than another layer of stone, and that call is best made by someone who works with drainage.
Wet, soft clay is not ready for stone. If the excavation is holding water or its sides are slumping after rain, wait for drier weather and check the base and the levels again before carrying on.
Hardcore or a concrete base?
For most domestic paving, patios, paths, garden steps and driveways on reasonably firm ground, a compacted crushed-stone sub-base with a bedding layer above it is the usual method, and it is the version that drains. A concrete base is the exception rather than the default. It suits ground that is soft, made up or unstable, paving that will carry very heavy loads or support a low wall, and jobs where the finished surface must not move at all. The choice follows the ground conditions and what the paving has to carry, so it belongs with whoever is designing the work.
A concrete base changes the sequence: the slab has to be consolidated flat, its own fall formed into it while it is being laid, and it must cure hard and dry before any bedding or paving goes on top. Water will not soak through it, so falls and drainage matter even more, and the edges still need restraint.
Frost, rain and Irish weather
Irish winters are wet rather than deeply cold, and that combination causes more paving trouble than hard frost on its own. Water that reaches the sub-base, or sits against clay, can freeze in a cold snap, expand and lift both the base and the paving above it. That is why the base has to drain, why falls matter, and why joints should be filled and kept full.
Dig and build up in dry spells where possible. Working wet clay churns it into the pan described above, and stone tipped onto a wet base will not compact properly. If heavy rain is forecast, cover the open excavation and the stone heap with a tarpaulin overnight. Avoid laying bedding or paving on frozen ground or in freezing conditions, because a bed laid on frost can move as the ground thaws.
Edging, bedding layer and final checks
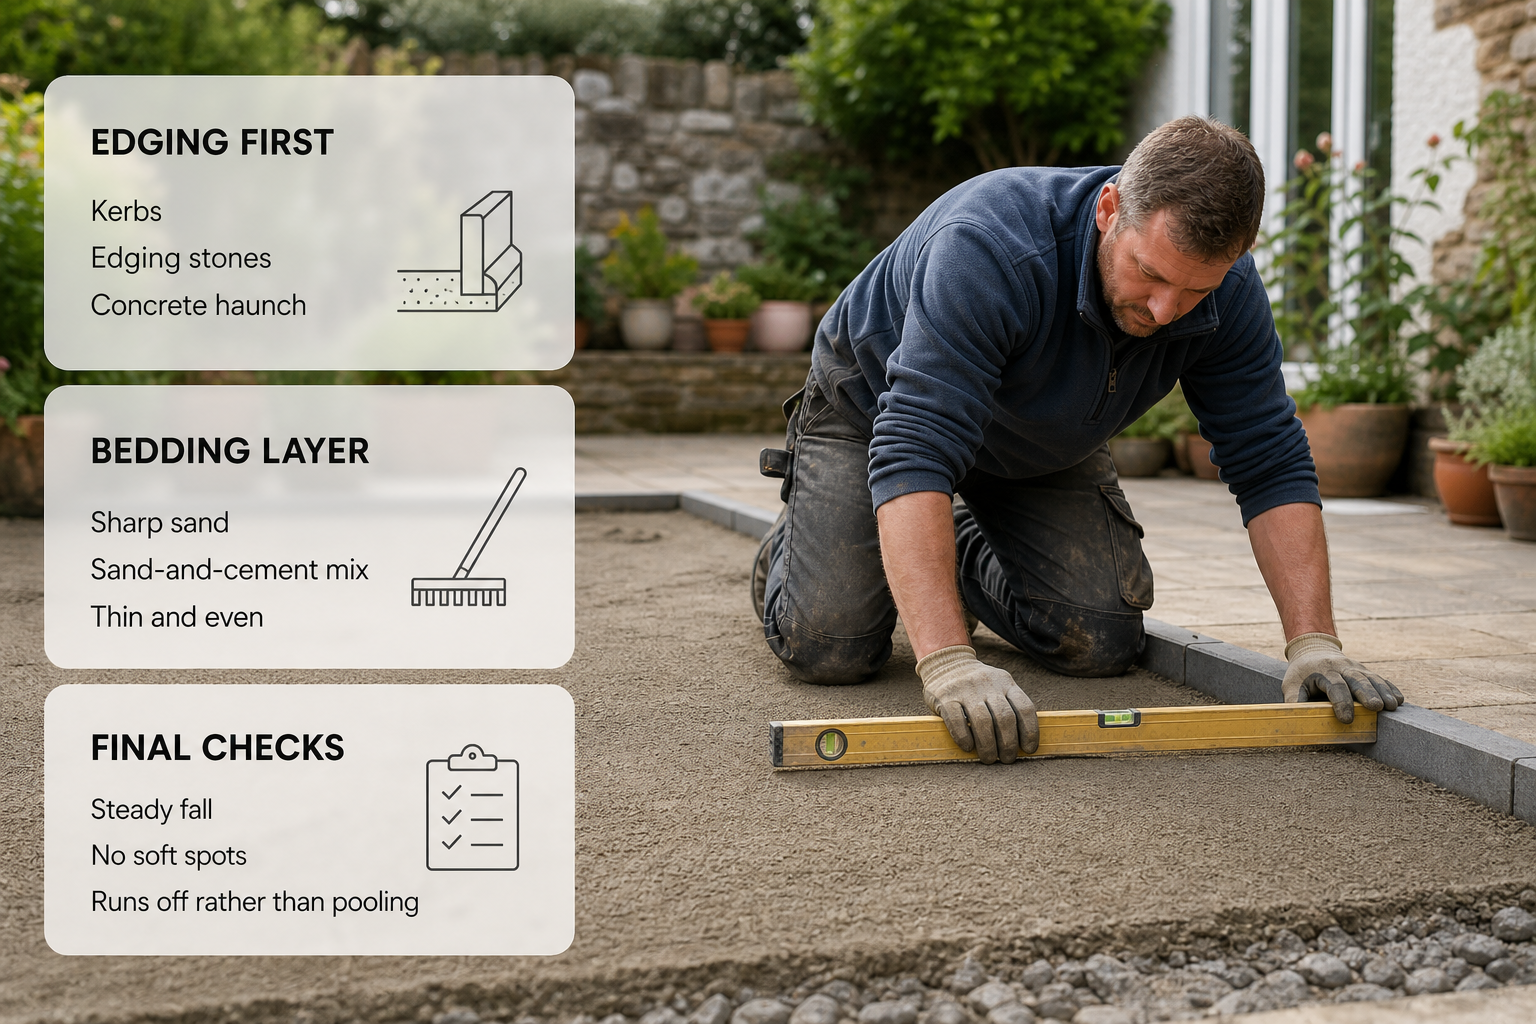
Edging comes before the bedding. Without a restraint along the open edges, paving creeps outward, joints open and the fall is lost, especially on a driveway where car wheels push against the edge. Kerbs, edging stones or a concrete haunch bedded along the perimeter hold everything in place, set to the finished level so the paving is gripped at its edges. Let the haunch set firm before the final compaction.
The bedding layer is the thin, even bed that the paving sits on, spread over the compacted sub-base in sharp sand, or in a sand-and-cement mix where the paving is heavy or the joints will be pointed. It is raked to the fall set earlier, kept as thin and as even as the paving allows, and not walked over once it is ready.
Before the paving goes down, walk the whole area and check four things: the fall runs the right way and is steady, the sub-base feels solid underfoot with no soft spots, the restraints are firm, and water poured on the sub-base runs off rather than pooling.
FAQ
Can paving be laid straight onto soil or sand?
Soil and sand both move under load, and sand on its own disappears into the soil beneath it. The layer that carries the weight is the compacted sub-base, while the bedding layer above it only levels the paving. Soil also brings weed growth and worm activity, which work their way into joints over the following seasons.
What happens if the edge restraints are left out?
The paving gradually spreads and the joints widen, which lets water into the bedding layer and softens the whole base. On a driveway the effect is faster, because car wheels push sideways as they turn. Restraints also hold the fall, so leaving them out can undo the levels set at the start of the job.
How can a homeowner tell the sub-base is compacted enough?
Walk the whole area and watch for any give underfoot, and check that the compactor has left no fresh track marks or loose patches behind. Tap a spade handle on the surface at a few points; a dull, dead sound suggests a loose pocket underneath. After heavy rain, look for soft spots and re-compact them before the bedding goes on.
Should an old concrete slab be removed or built over?
A sound slab that is level, uncracked and drains in the right direction can sometimes be kept and adjusted, but one that is broken, settled or holding water should come out. Where part of the area is slab and part is open ground, the two behave differently and a step can appear over time. That transition is worth settling before any new bedding is laid.
Getting help with the groundwork
Groundwork is heavy, slow and mostly invisible once the paving is down, which is exactly why it is worth doing properly or handing to someone who does it regularly. Posting a job and listing it on ShamFix is free and there is no commission, and a subscription is planned for the future. ShamFix does not check or certify tradespeople and profiles are filled in by tradespeople themselves, so homeowners should check registrations themselves and read reviews. When comparing help, ask how the sub-base will be built up and compacted, where the spoil will go, and how the fall away from the house will be set. Typical prices for a finished drive are in block paving driveway cost.