Cracked shower grout is often cosmetic, but it can mean water is getting behind the tiles. Learn the warning signs, safe DIY fixes and when to call a pro.
/9 min read
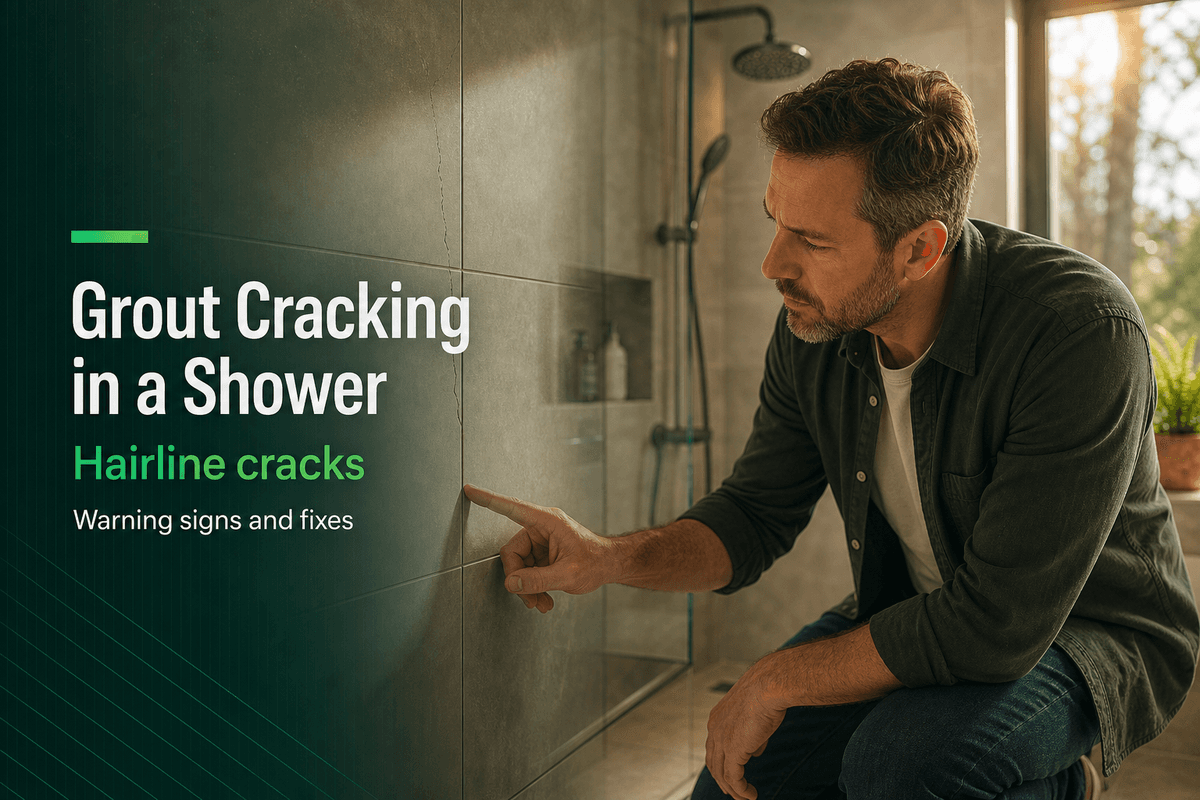
Grout cracking in a shower is usually a joint problem rather than a plumbing failure: the grout has shrunk, dried out or been pushed apart by movement, and most hairline cracks are cosmetic and can be raked out and replaced. It becomes urgent when the grout is soft or crumbling, when the seal at the tray or base has split, or when tiles sound hollow or move under hand pressure, because water is then likely to be reaching the layer behind the tiles. Where joints are cracked or missing across a whole enclosure, a local tiling service can rake out the old grout and reseal the shower properly.
What cracked shower grout usually means
Grout is rigid and slightly porous, while tiles, adhesive and the wall behind them all expand and contract at different rates as the shower heats and cools. The grout absorbs that movement, so hairline cracks open along the joint. Showers see more of this than other rooms because the same joints are cycled through hot water, steam and cold air every day.
A thin crack running along the surface of a joint, with hard grout underneath and no staining, is normally cosmetic. Cracks that appear in a corner, at the junction with the tray or base, or around the shower valve are more likely to be movement or a failed sealant joint, and those are the ones to watch.
Cosmetic cracks versus an urgent moisture problem
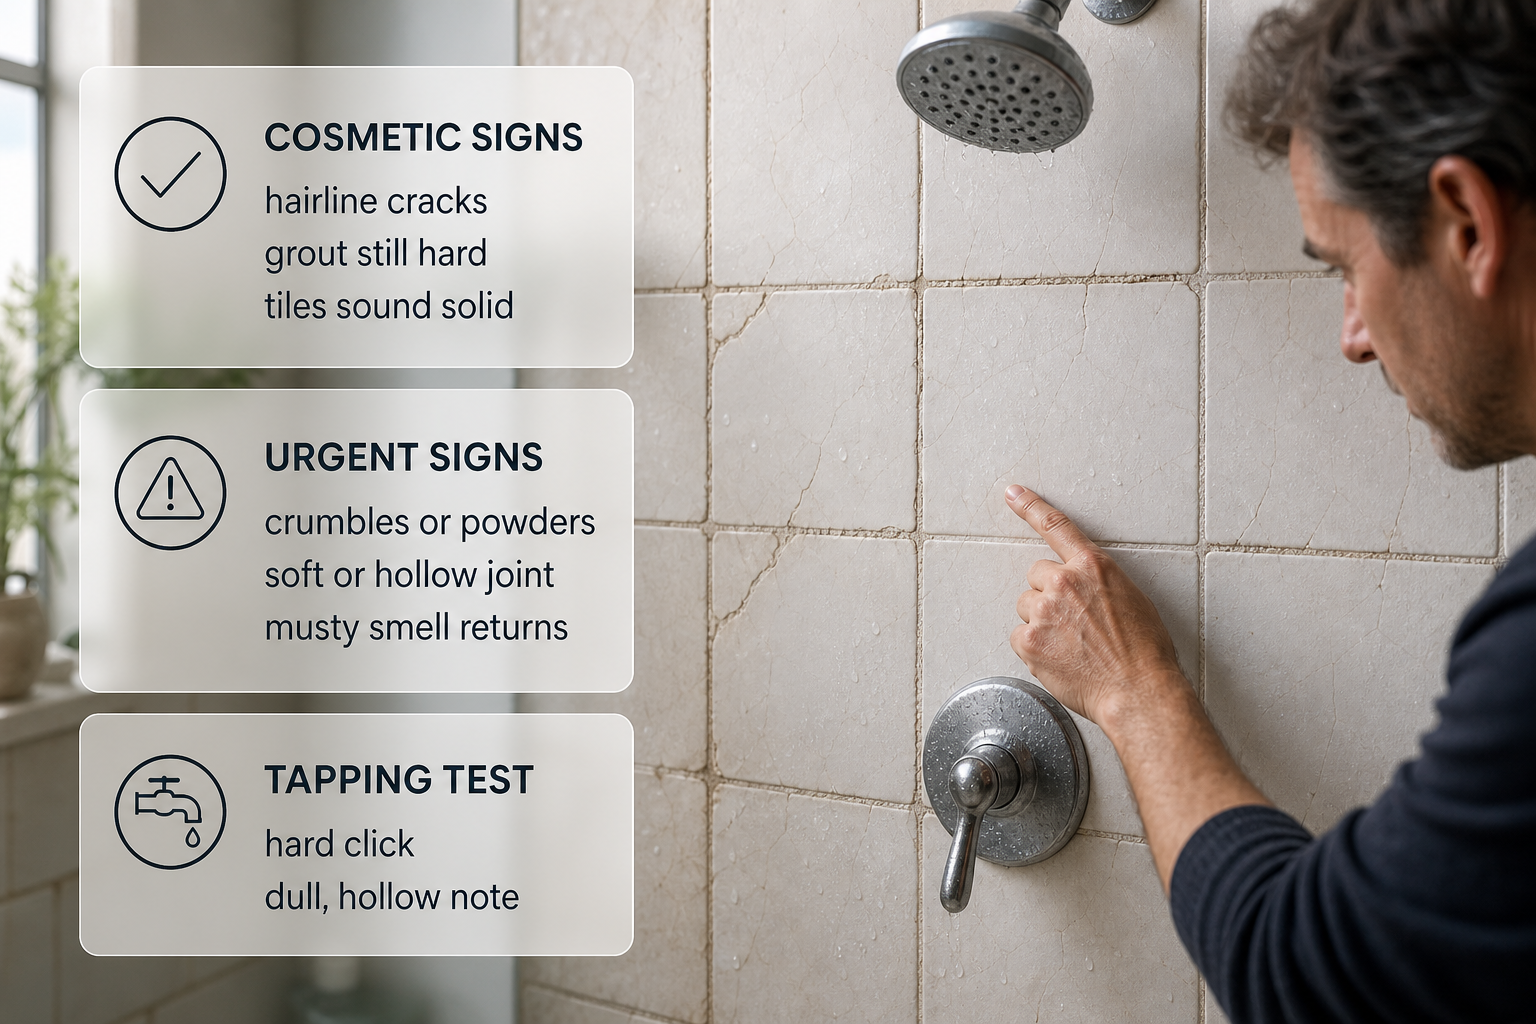
Cosmetic signs:
hairline cracks that stay the same size over weeks
grout that is still hard when pressed with a fingernail
joint colour that cleans up and stays even
tiles that sound solid when tapped with the knuckles
no damp smell and no staining on the ceiling below
Urgent signs:
grout that crumbles or powders when touched
a joint that is soft or hollow, or goes dark again soon after cleaning
tiles that sound dull and hollow when tapped, or move slightly under hand pressure
paint, plaster or skirting on the other side of the wall bubbling, flaking or feeling damp
a damp stain spreading on the ceiling of the room or apartment below
a musty smell in the shower that returns after cleaning
Tapping is the simplest test a homeowner can do: a solid tile gives a hard click, while a dull, hollow note usually means the tile has come away from the adhesive and water can sit behind it. Hollow tiles plus cracked grout are a stronger warning than cracked grout on its own.
Why grout cracks: the common causes
Movement: timber floors, stud walls and trays that flex, heavy doors, and the daily heat cycle all push and pull at rigid joints.
Shrinkage: grout mixed too wet, wiped too soon or dried too quickly in a warm bathroom cracks as it cures.
Rigid joints where flexible ones belong: corners and the wall-to-tray junction should carry a flexible sealant, not grout.
Substrate problems: tiles fixed to a surface that is not rigid or flat, or to a backing that has softened after earlier water ingress.
Age and wear: older grout erodes, and acidic bathroom cleaners dissolve cement-based grout over time.
Water pressure from behind: where water is already getting in, it can push joints open from underneath.
Constant damp: grout that never dries stays soft, and mould weakens the joint further.
Grout failure or a plumbing leak? How to tell them apart
The pattern and the timing separate the two, and this is worth doing before anything is regrouted.
A supply pipe leak runs continuously, worsens with pressure, and can show up even when the shower has not been used. Turning off every tap and appliance and watching whether the water meter still moves is a simple first check.
A waste or drain leak appears only when the shower runs and drains, and usually leaves damp or a smell near or below the tray.
A grout, sealant or waterproofing leak appears when water is sprayed on the walls, not when the tray is simply filled and drained.
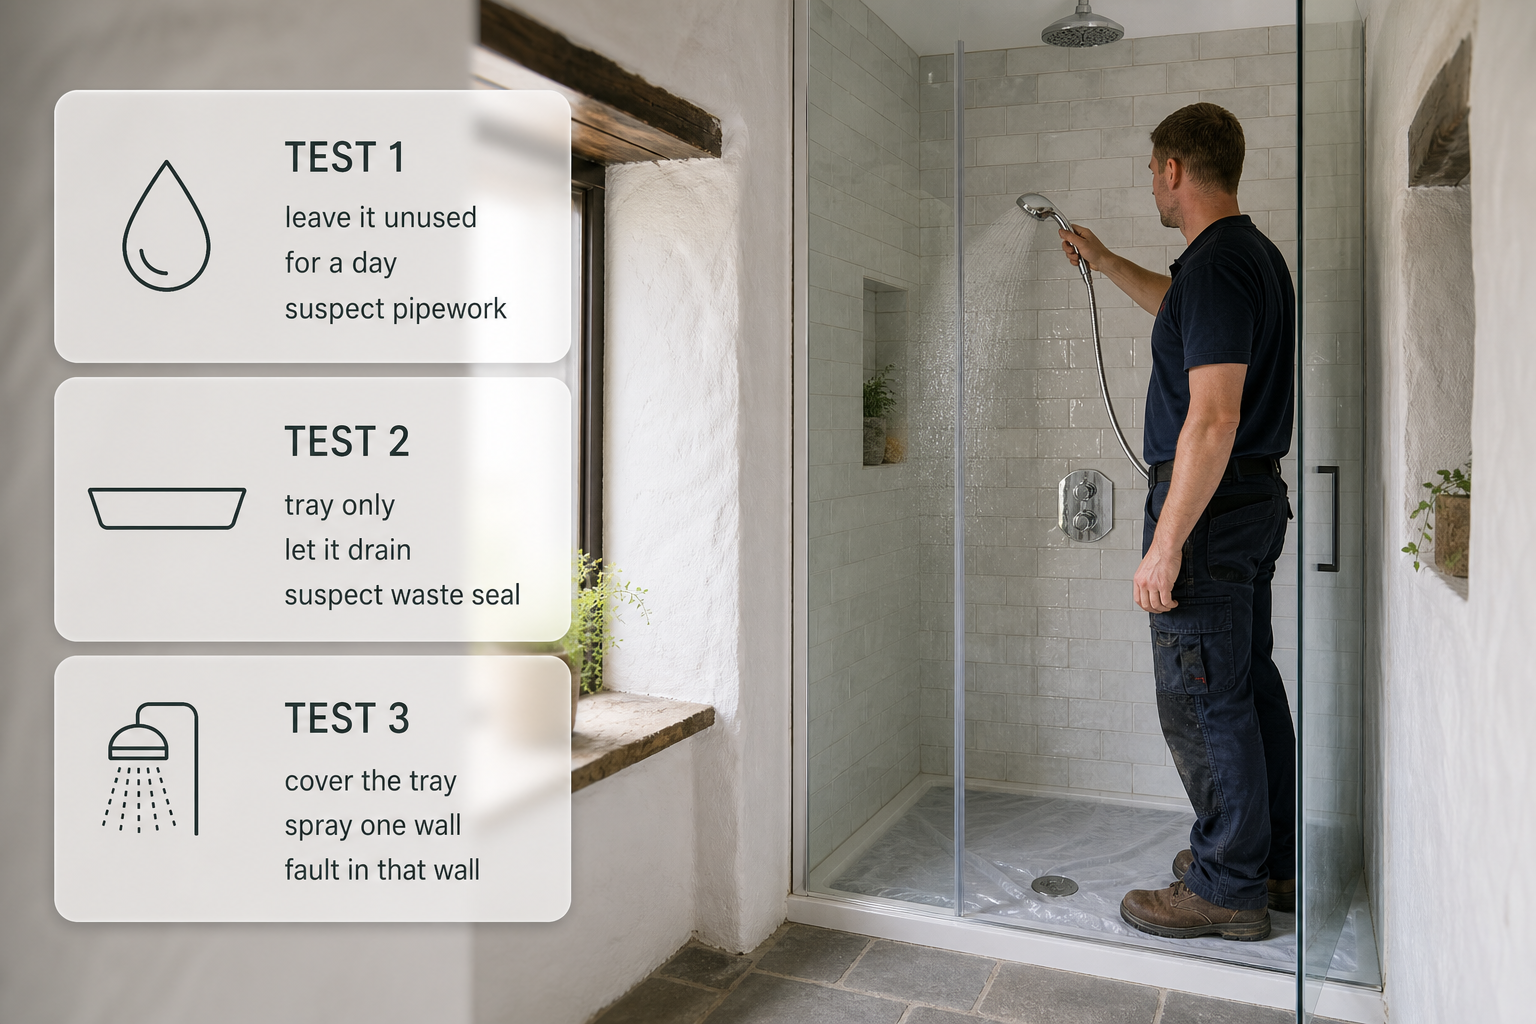
Three drying tests settle most cases:
Dry the whole shower and leave it unused for a day. If a damp patch grows, suspect pipework.
Run water into the tray only, with no spray, and let it drain. If damp appears, suspect the waste seal or the tray joint.
Cover the tray, then spray the shower head at one wall. If damp appears, the fault is in that wall's grout, sealant or waterproofing.
A wall leak usually shows as a band or patch at the same height as the failed joint on the other side, while a drain leak usually shows below or behind the tray.
Silicone versus grout: why the wrong sealant fails
Every joint where two surfaces meet at an angle is a movement joint, and grout has no flexibility to cope with it. Grouting a corner or the wall-to-tray junction nearly always ends in cracks. Silicone fails for its own reasons: it was applied over old silicone, over a damp or dusty surface, or a general-purpose sealant was used instead of a neutral-cure sanitary one that resists mould. Topping up a split bead hides the problem and traps water, so the old sealant needs to come out completely before a new bead goes in.
Water behind tiles and failed waterproofing
Behind the tiles there should be a waterproofing layer over a rigid, dry substrate. Once cracked grout and split sealant let water past the surface, that layer takes the strain, and if it was never installed, was damaged or has failed, moisture spreads sideways and downwards. Warning signs include tiles that lift, grout lines that darken in patches, a white salt bloom on the surface, and cracks that return within weeks of being repaired. Work at this level — stripping tiles, drying the wall, re-waterproofing and retiling — belongs with construction and home renovation rather than a quick regrout.
Mould, condensation and ventilation
A bathroom that never dries keeps grout and sealant permanently damp, and damp joints soften and lose their grip. Poor ventilation also leaves the tiled surfaces cool, so condensation forms on the grout lines instead of running off the tiles. The practical response is to run an extractor or open a window while showering and for a while afterwards, squeegee the walls and screen, leave the door open once the room empties, and keep the extractor clean so it still moves air. Where mould returns along a joint soon after cleaning, water is likely sitting behind it, but mould itself points to long-term damp rather than a sudden leak.
Temporary fixes that are safe
Safe stopgaps:
dry the shower fully, rake out loose grout and fill a single hairline crack with a small amount of matching grout or a grout repair filler
cut out a split silicone bead completely and replace it with a new neutral-cure sanitary bead once the joint is dry
ventilate and dry the shower after every use, and stop using acidic cleaners on cement-based grout
Fixes to avoid:
smearing silicone along the grout lines between tiles, which seals water into the joint and has to be removed later
grouting the wall-to-tray junction
filling a crack while the joint is still wet
painting or coating over a crack and hoping it holds
Temporary repairs buy time and slow water ingress, but they do not repair a leak path or a failed waterproofing layer.
Cleaning and resealing grout: a practical method
What to use: a grout rake or hand grout saw, a stiff nylon brush, a vacuum, a grout float, a sponge and bucket, matching cementitious or epoxy grout, a neutral-cure sanitary silicone, a silicone remover or plastic scraper, methylated spirits, gloves, eye protection and a dust mask.
Take the shower out of use and let the joints dry, ideally for a day with the door open or a fan running.
Remove the old silicone first, using a remover or plastic scraper rather than a blade. Rake out the grout along the line of the joint, not across it, deep enough to take new grout without chipping the tile edges.
Brush out dust and vacuum the joints. Wipe the silicone joint with methylated spirits and let it evaporate completely.
Mix the grout to the consistency on the pack and press it into the joints with the float held at an angle, working in small sections so it does not skin over.
Leave the grout to firm up until it no longer smears, then wipe the tiles with a damp sponge, rinsing it often. Once a haze appears, polish the tiles with a dry cloth.
Keep the shower dry while the grout cures for the period the pack states, and keep water off the joints until curing is complete.
Run the new silicone bead last, along the dry movement joint, smooth it with a silicone tool, and leave it to cure as the pack directs.
Wear gloves for grout and silicone remover, eye protection when raking, and a mask when working with dry grout dust, and keep the room ventilated throughout.
When to call a tiler or a plumber
Call a tiler when the same joints crack again after regrouting, when several tiles are hollow or lifting, when tiles are cracked, or when the waterproofing behind the tiles is suspect and the enclosure needs to come apart.
Call a plumber when damp appears while the shower is off, when the drain is slow or smells, when water marks appear on the ceiling below, or when the tray or waste seal is the suspected fault. If the source cannot be identified with the drying tests above, a plumber is the safer first call, because regrouting a wall that is being fed by a pipe leak simply hides the problem.
In a rented home or an apartment, report it to the landlord or letting agent first; in a block, the management company may also be involved where water is affecting another unit or a shared area. Responsibility for the repair depends on the tenancy agreement, so confirm it with the landlord, management company or a local adviser before arranging work.
Getting the shower sorted
A cracked joint that is dry and stable can wait a short while; a joint that is soft, dark or letting water through should be dealt with before the damage reaches the wall behind. Tradespeople who work on shower joints can be found through ShamFix, where posting a job and listing is free and there is no commission, and a subscription is planned for the future. ShamFix does not check or certify tradespeople — profiles are filled in by tradespeople themselves — so homeowners should check registrations themselves and read reviews before hiring. Start with ShamFix.
FAQ
Is it safe to keep using a shower with cracked grout?
For a hairline crack on a dry, hard joint, yes, while a repair is being arranged. If the crack is soft, dark or crumbly, or a tile sounds hollow, keep water off that wall and use another shower if there is one, because every wash pushes more moisture past the surface.
Why does grout keep cracking after I repair it?
Recurring cracks usually point to something underneath: movement in the wall or tray, a missing flexible seal at a corner or the tray junction, or moisture already sitting behind the tiles. Refilling the joint treats the symptom, so the cause needs investigating instead.
Can I seal a cracked grout line with silicone?
No, not for a joint between two tiles on the same plane, because silicone there traps water and makes a proper regrout harder. Silicone belongs only in movement joints such as corners and the line where the wall meets the tray, applied to a clean, dry surface.
Who is responsible for a shower repair in a rented apartment?
It depends on the tenancy agreement and, in a block, on whether the damage affects another unit or a shared area. The occupier should report the problem in writing to the landlord or letting agent first and confirm the position with the management company or a local adviser before paying for any work.