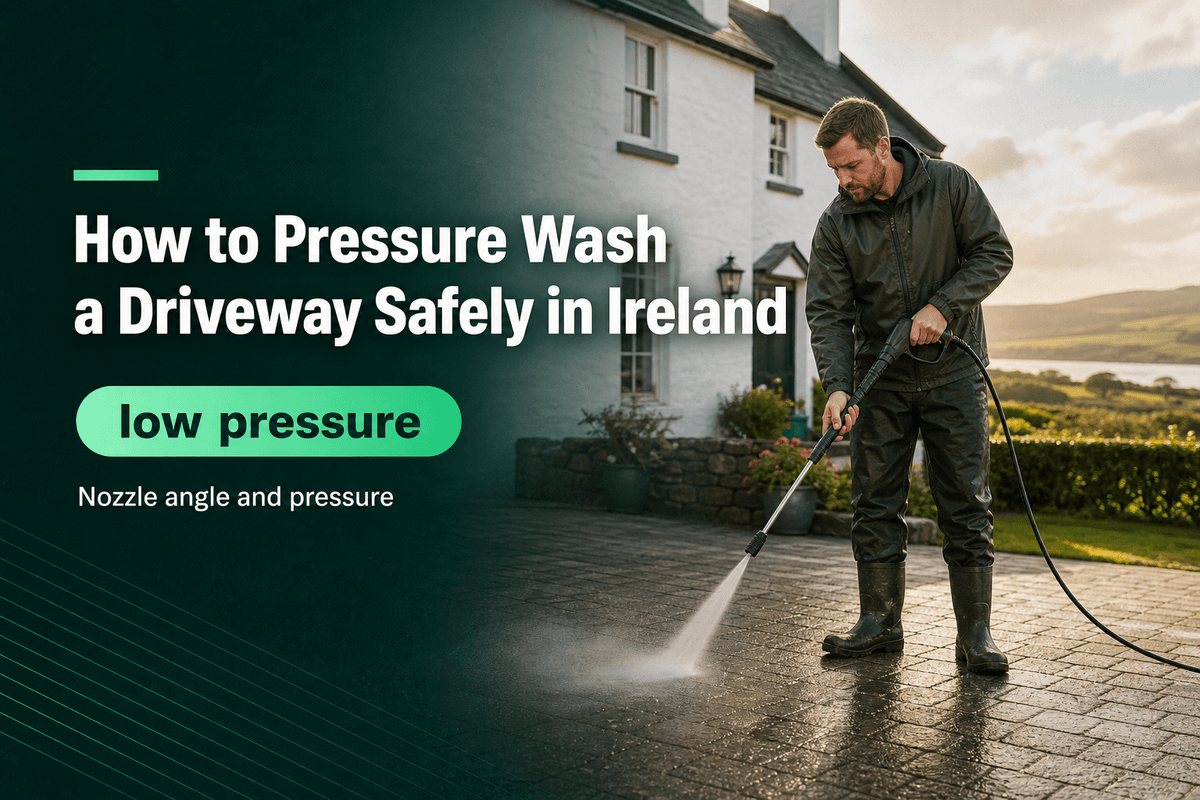
Pressure washing suits a driveway that is sound and unsealed, such as good concrete or block paving in reasonable condition, and it is the wrong tool for tarmac, resin-bound, painted or crumbling old concrete, or any surface whose joint sand or sealer is already failing. The method below keeps the pressure low, the nozzle wide and the water moving across the surface rather than into it, which is what protects joints, edges and the finish. Where a driveway is large, fragile or heavily stained, booking a local pressure washing and pressure cleaning service is the safer route.
How to pressure wash a driveway, step by step
What to use: a pressure washer with an adjustable setting and more than one fan nozzle, a stiff hand brush, a garden hose, plastic sheeting for borders, a bag for debris, and gloves, eye protection, wellingtons and a dust mask for mossy or gritty work. A cleaning product is optional, and it should be one sold for driveway use.
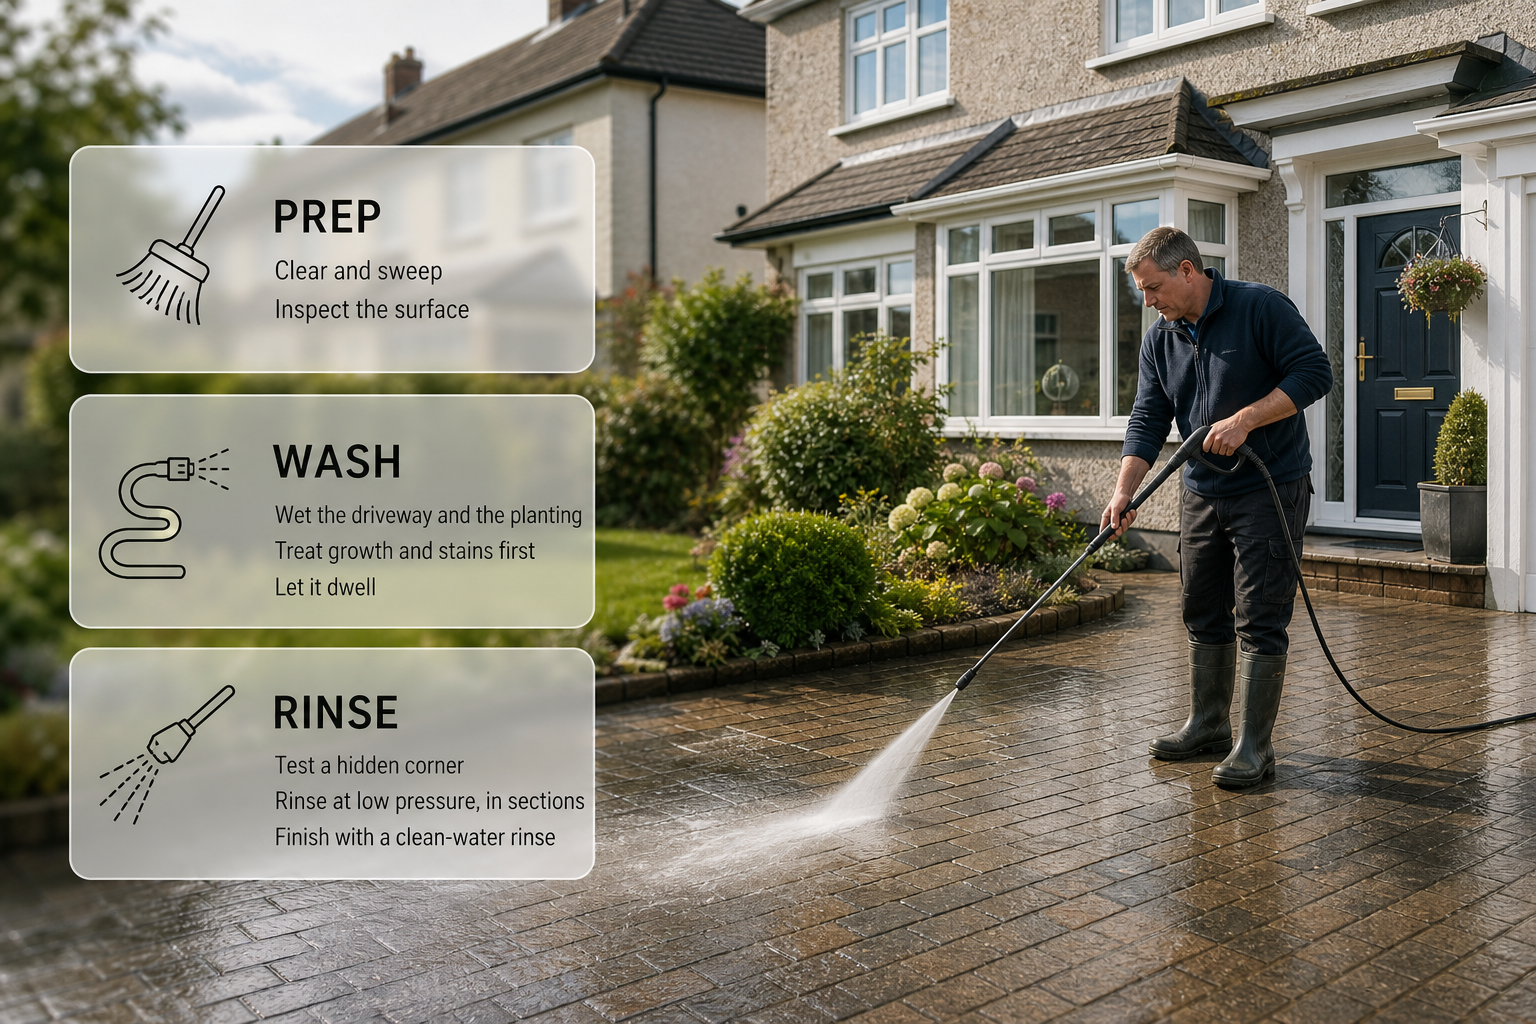
- Clear and sweep. Move cars, bins, planters and mats, then sweep leaves, grit and loose moss while everything is dry: dry debris bags up far more easily, and none of it should be rinsed towards a drain.
- Inspect the surface. Look for cracked or rocking slabs, hollow or missing joint sand, lifted edges and worn sealer. Any of those mean lower pressure, a gentler method or leaving that section alone, and leads or connections should be kept clear of standing water.
- Wet the driveway and the planting. Pre-soaking the paving dilutes dirt and detergent instead of letting them soak into dry pores, and watering nearby beds first stops overspray scorching dry foliage.
- Treat growth and stains first. Apply a cleaner made for the surface, or a diluted household detergent, following the label exactly on dilution, dwell time and rinsing. Household cleaning products should be used according to the label, with attention to ventilation, skin and eye protection, and keeping products away from children (HSE).
- Let it dwell for the time the label states and no longer, agitating stubborn marks with a stiff brush rather than adding more chemical or more pressure.
- Test a hidden corner on the lowest setting with the widest fan nozzle before committing to the whole driveway.
- Rinse at low pressure, in sections. Work in areas small enough to rinse before the product dries, which is the most common cause of streaks, hold the wand at a shallow angle so the water skims across the paving, and overlap every pass.
- Finish with a clean-water rinse over the whole driveway, rinse the plants and any walls that caught overspray, and let the surface dry completely before joint sand or sealer goes back.
Surface by surface: block paving, concrete, tarmac and sealed driveways
- Block paving. The joints are filled with sand, and a concentrated jet excavates that sand in seconds. Hollow joints let the blocks rock, weeds move in and the paving settle unevenly. Use the widest fan tip on the lowest setting, work at a shallow angle and top up the joint sand once everything is dry.
- Sound concrete. Unsealed, unpainted concrete in good condition is the most forgiving driveway surface. Newly laid concrete should be left to cure fully before it is washed at all, and concrete that has already spalled or cracked will lose more of its surface around the damage.
- Old or friable concrete. Sandy, crumbly and often patched. A narrow jet pits it and turns hairline cracks into open ones, so soft washing and a brush are gentler and usually enough.
- Tarmac and asphalt. The binder holding the aggregate together erodes under pressure, and warm weather softens it further, so a jet strips the bitumen and leaves hollows and ridges that worsen with every pass. Tarmac is a gentle-rinse surface only.
- Sealed driveways. The sealer is what the pressure washer attacks first. Stripping it leaves dull, patchy areas that weather at different rates, so wash at low pressure with a label-approved product and plan to reseal once the surface is dry.
- Resin-bound and resin-bonded gravel. The resin is the binder, and concentrated pressure dislodges it. Rinse gently and treat stains individually rather than blasting them.
- Painted or stamped finishes. Decorative layers can be dulled or lifted, so test a hidden corner and stay on the lowest usable setting.
Nozzle angle, distance and pressure
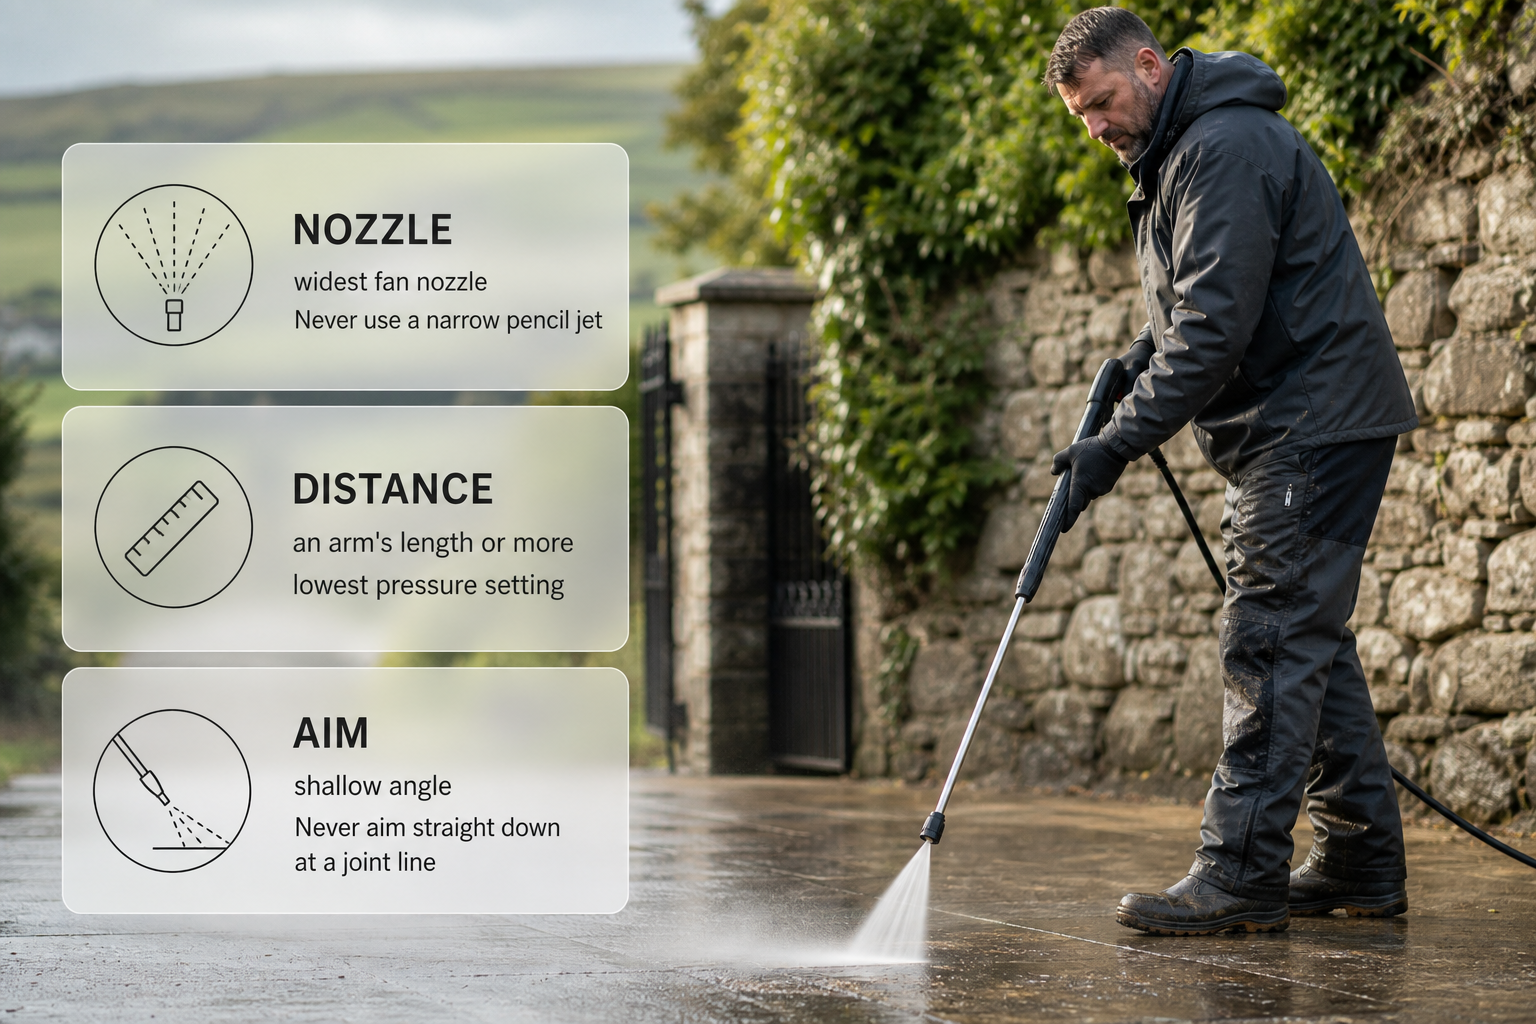
Choose the widest fan nozzle the machine has. A narrow pencil jet belongs nowhere near a driveway: it is the single biggest cause of grooves, etch marks and blown joints. Keep the wand roughly an arm's length or more from the surface, hold the nozzle at a shallow angle so the water skims across the paving, and stay on the lowest pressure setting that shifts the dirt. Never aim the jet straight down at a joint line, a step nosing, a drain cover, the base of a wall or anything electrical, and never point it at a person or an animal. Do not pressure wash from a ladder.
Joints, edges and the surface finish
Joints and edges take the most punishment. Washing along an edge rather than across it keeps the jet off the weakest line, and keeping the wand moving stops the fan from cutting a visible stripe. Standing still in one spot etches concrete and strips sealer. Once joint sand has been lifted, the joints need topping up after the paving has dried, because the longer hollow joints are left, the more the blocks move and the more weeds establish. A driveway that was sealed before will need resealing after washing, and only on a completely dry surface.
Moss, algae, lichen, oil stains and black spots
- Moss grows in the joints and along shaded edges. Scrape it out while it is dry, bag it, then wash and re-sand afterwards. It returns wherever damp and shade persist, so expect a repeat job rather than a permanent fix.
- Green algae forms a slippery film, typically on the shaded side of a driveway. A soft wash with detergent, a full dwell period and a brush shifts it better than pressure alone, which can push the film into the surface.
- Lichen and black spots cling tightly to the paving. Pressure alone etches the surface around them while leaving the spot intact, so pre-treat with a suitable cleaner, allow the full dwell time, brush and rinse; some marks fade over the following weeks rather than disappearing on the day.
- Oil stains need a degreaser used exactly as the label directs, worked in with a stiff brush and then rinsed, with repeat treatments usually needed. On tarmac, use a dedicated degreaser and gentle rinsing only, because solvent plus pressure breaks the surface down.
- Rust and paint need purpose-made removers, tested on a hidden corner first. Where a stain resists two or three careful attempts, a provider listed under home services can take over with products suited to the surface.