
Oiling a wooden worktop feeds dry timber and seals the surface with a hardening oil that soaks into the grain, so water and everyday spills sit on top instead of sinking in, and the finish can be renewed with further thin coats rather than sanded back to bare wood. A worktop is due for oil when water stops beading on it, when the timber looks pale and thirsty, or when the surface feels rough after cleaning. The job itself is straightforward — clear the top, sand lightly along the grain, work the oil in thin coats, wipe off what the timber does not take and let each coat harden — but patience matters far more than speed.
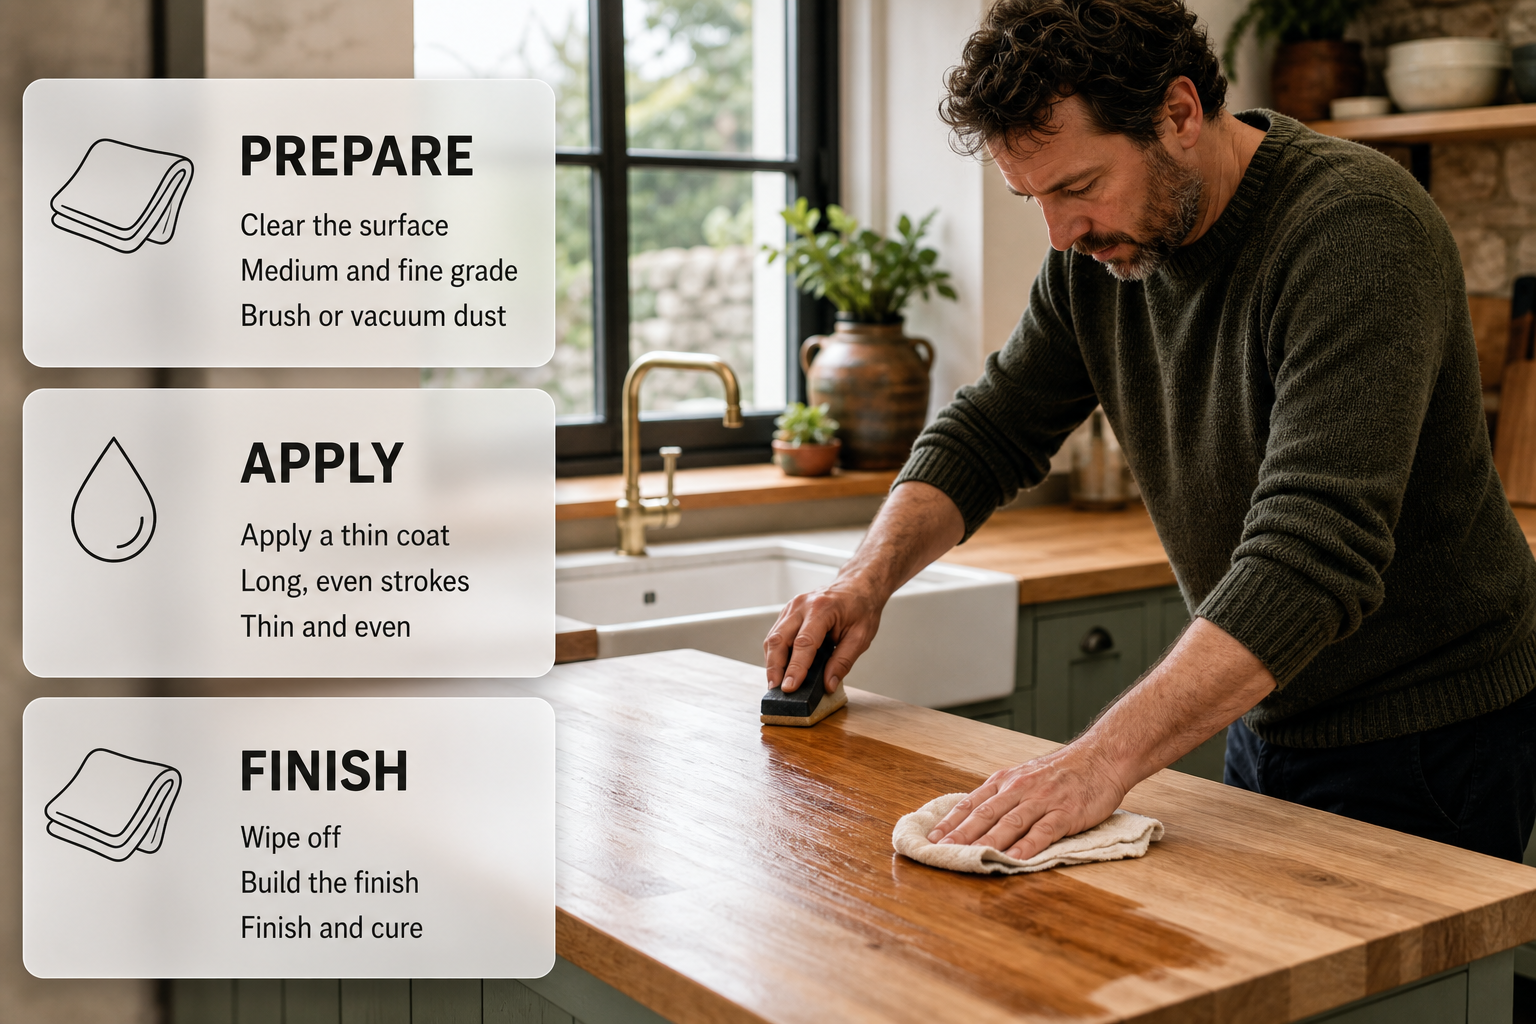
Preparing, sanding and oiling a wooden worktop
Set out lint-free cloths or an applicator pad, abrasive paper in a medium and a fine grade, a soft brush or a vacuum for dust, gloves, eye protection, a dust mask for the sanding, and a hardening oil sold for worktops and food-contact surfaces.
Clear the surface. Take off everything, including the drainer and mats. Run a hand along the timber looking for swollen sections, open joints, soft patches around the sink cut-out or hob, and deep burns or gouges. Oil will not repair any of these, and a local carpentry service can repair or replace a failed section before the surface is re-oiled.
Sand lightly, with the grain. A light pass is enough to open the surface and take the sheen off the old oil. Start with the medium grade where there are marks to remove and finish with the fine grade. Sanding across the grain leaves scratches that show through the finish, and paper that is too fine burnishes the timber so the oil sits on top instead of soaking in. Keep the pressure light — the aim is to key the surface, not to reshape it.
Take the dust off. Brush or vacuum the surface, then wipe it with a cloth wrung out in clean water and let the timber dry completely, because a damp worktop will not take oil evenly. Wipe again with a dry lint-free cloth immediately before oiling.
Apply a thin coat. Pour a little oil onto the worktop or onto the cloth and spread it along the grain in long, even strokes. Thin and even is the goal; a glossy puddle is too much. Work in manageable stretches so the oil does not begin to set before it has been spread.
Let it absorb, then wipe off. Leave the oil for the time the product label gives, then wipe the surface dry with a clean cloth. Oil left standing cures tacky, so the wipe-off matters as much as the application does. If the label gives no interval, wipe once the timber looks evenly darkened and the surface no longer feels wet.
Build the finish. Apply further thin coats as the label directs, wiping off the excess after each one. A worktop that has been dry for a long time will take more coats than one that is simply being refreshed, and each coat should be dry before the next goes on.
Finish and cure. Buff the final coat with a dry cloth. The surface will feel dry to the touch well before the oil has finished hardening, so keep water off it and use chopping boards rather than wiping it down with a wet cloth until the cure is complete, as the label sets out.
Choosing an oil that is safe next to food
Worktop oils are hardening oils — tung oil, polymerised linseed oil and blends sold for the purpose — and once fully cured they form a dry, inert film. Products labelled for food-contact surfaces are the ones to choose in a kitchen. Cooking oils such as olive, sunflower and raw linseed oil never cure properly: they stay soft, can turn rancid and leave a sticky surface that collects dust. Furniture polishes, waxes and products containing solvents or metallic driers are not intended for food preparation areas, so read the label for a food-contact statement before buying.
Ventilation, gloves and safe disposal
Work with a window open and another opening on the far side of the room so air moves through while the oil hardens. Gloves keep oil off the skin, the eyes are best kept clear of it, and a dust mask is worth wearing while sanding.
Oil-soaked rags are the main fire risk in the job, because a bunched rag can heat up on its own and ignite. Spread rags flat outdoors to dry, or keep them submerged in water in a sealed metal container. Leftover oil, oily rags and empty containers belong in approved hazardous-waste routes and never in ordinary household bins, as the Government of Ireland sets out.
How often a worktop needs re-oiling
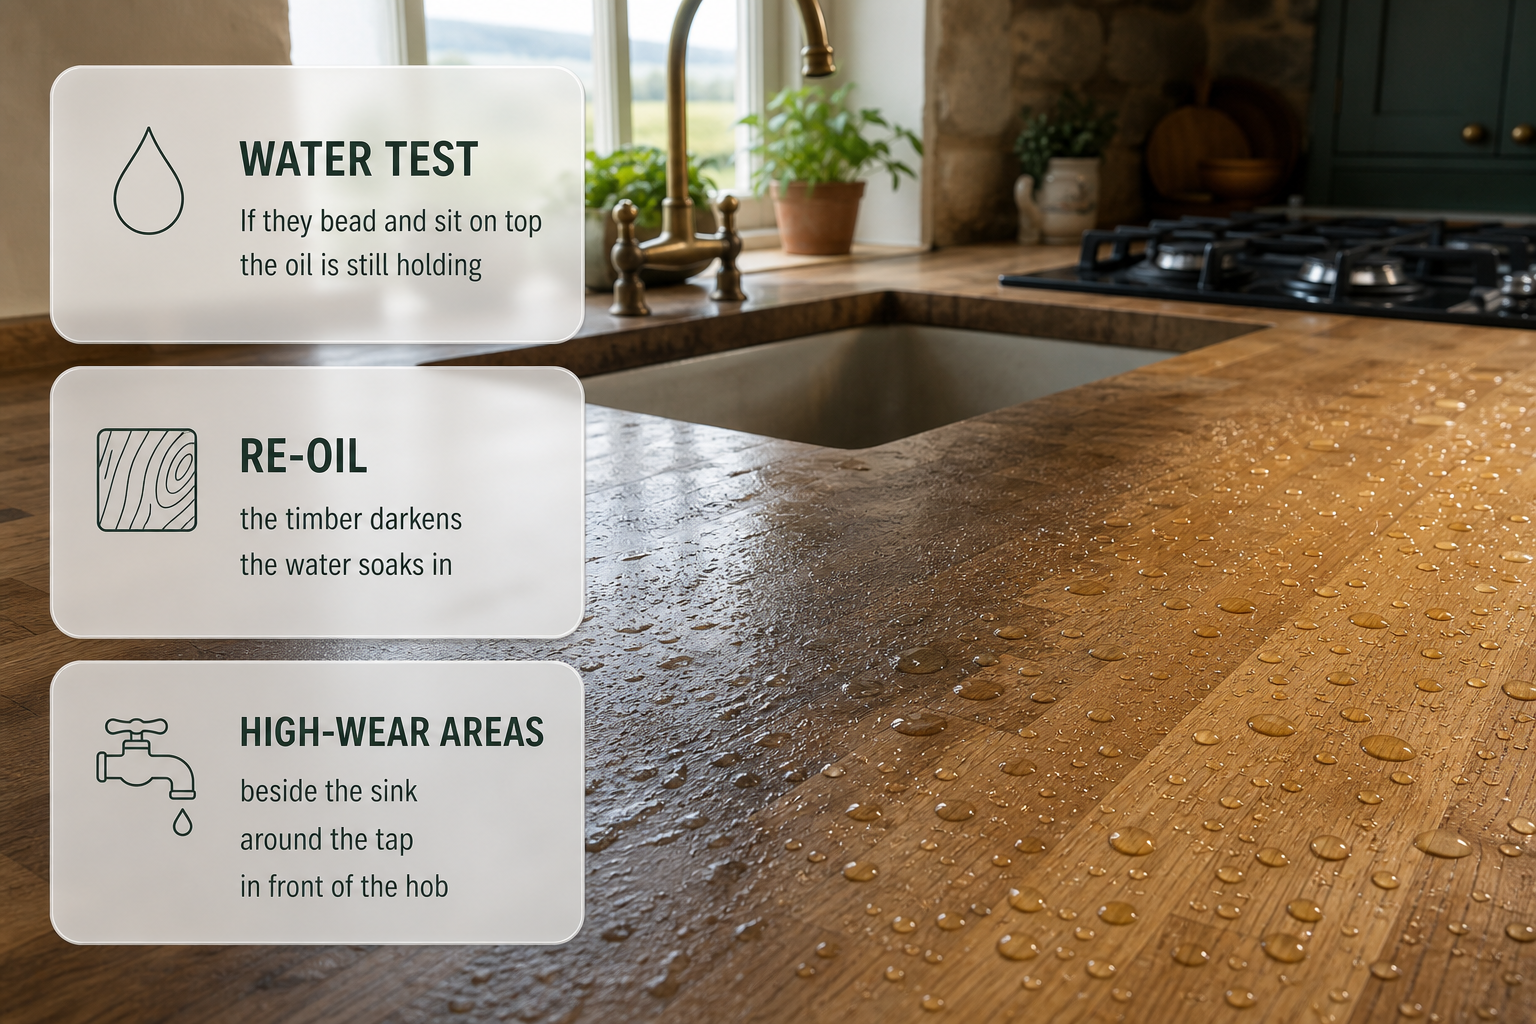
Re-oiling intervals follow use rather than the calendar, and the water test is the reliable guide: put a few drops on the surface and watch. If they bead and sit on top, the oil is still holding; if the timber darkens and the water soaks in, it is time for another coat.
| Kitchen use | What the surface shows | What to do |
|---|---|---|
| Light use — occasional cooking, worktop clear of the sink and hob | The surface stays sound for a long stretch and water still beads when tested | Test the surface periodically and re-oil when the beading stops |
| Average use — daily cooking for a household | Beading fades across the working area and the timber dulls | Re-oil sooner than a lightly used top, and touch up near the sink and hob |
| Heavy use — cooking through the day, worktop beside the sink, hob or dishwasher | Water soaks in quickly, especially around the tap and the hob | Re-oil most often of the three, with spot treatments between full coats |
Areas beside the sink, around the tap and in front of the hob usually need attention first, and they can be spot-oiled between full treatments: sand the patch lightly, apply a thin coat, wipe it off and blend the edges outward into the surrounding surface.
Does a worktop need stripping before re-oiling?
Usually not. Oil blends into the oil already in the timber, so a sound surface needs only cleaning, a light sand and further coats. Stripping back to bare wood is needed when the old finish has genuinely failed — flaking or gummy patches, a patchy sheen that will not even out, water rings that sanding does not lift — or when changing from a film finish such as varnish or lacquer to oil, because oil cannot penetrate a film. In that case the surface is sanded back to bare timber, or a suitable stripper is used as its label directs, and the work is oiled from scratch.
Laminate and other synthetic surfaces cannot be oiled at all, and engineered tops with a thin veneer need a very light touch with the sander. Where a worktop run has to come out, be re-cut or have a sink refitted, the work moves into construction and home renovation rather than straightforward maintenance.