Fit skirting boards by planning each run, coping internal corners, fixing to the wall and caulking neatly for a clean finish.
/9 min read
Fitting skirting boards follows a set order: plan and measure each wall, cut and dry-fit the boards, cope the internal corners and mitre the external ones, fix each board to the wall rather than the floor, then fill, caulk and paint. A careful homeowner with a mitre box, a coping saw and a drill can complete a room, but older Irish houses with bowed walls, sloping floors and out-of-square frames often reward a carpenter's eye. Most disappointing skirting jobs fail at the measuring stage rather than at the fixing.
Tools and materials for fitting skirting boards
Measuring and marking come first: a tape measure, pencil, combination square, sliding bevel and a long spirit level. For cutting, a fine-tooth tenon saw, a mitre box or mitre block and a coping saw with a thin blade cover straight cuts, mitres and coped joints, with a sanding block to tidy the edges. Fixing needs a cordless drill with wood and masonry bits, a hammer, a nail punch, panel pins, screws, wall plugs, grab adhesive and a supply of thin packers. Finishing calls for flexible decorator's caulk and a gun, fine surface filler, sandpaper, primer and trim paint, along with safety glasses, a dust mask and gloves.
Board choice matters as much as tools. MDF skirting arrives pre-primed, has no knots and takes paint smoothly, which suits modern rooms; softwood holds a sharper moulded profile and matches period trim. Where an older house has an original profile, a profile gauge or an offcut helps a timber yard match it, and splicing new lengths into an existing run is tidier than replacing the whole room. Long runs, high ceilings and curved bay windows are the point at which homeowners often hand the work over, and posting the job on ShamFix to compare replies from carpentry services working locally helps where mouldings must be copied or joins hidden.
Measuring, marking and cutting the boards
Work around the room in one direction and sketch each wall with a number so cut boards can be matched back to their run. Measure each wall at floor level and again at skirting height, because leaning walls and bowed plaster rarely give the same reading twice; treat the smallest measurement as the length and the difference as scribe allowance. Mark cut lines with a square and cut on the waste side of the pencil line, giving the top edge a slight back bevel so the face tips tight into the wall. Dry-fit every board before fixing anything, then write the wall number on the back.
Internal and external corners: coping and mitre joints
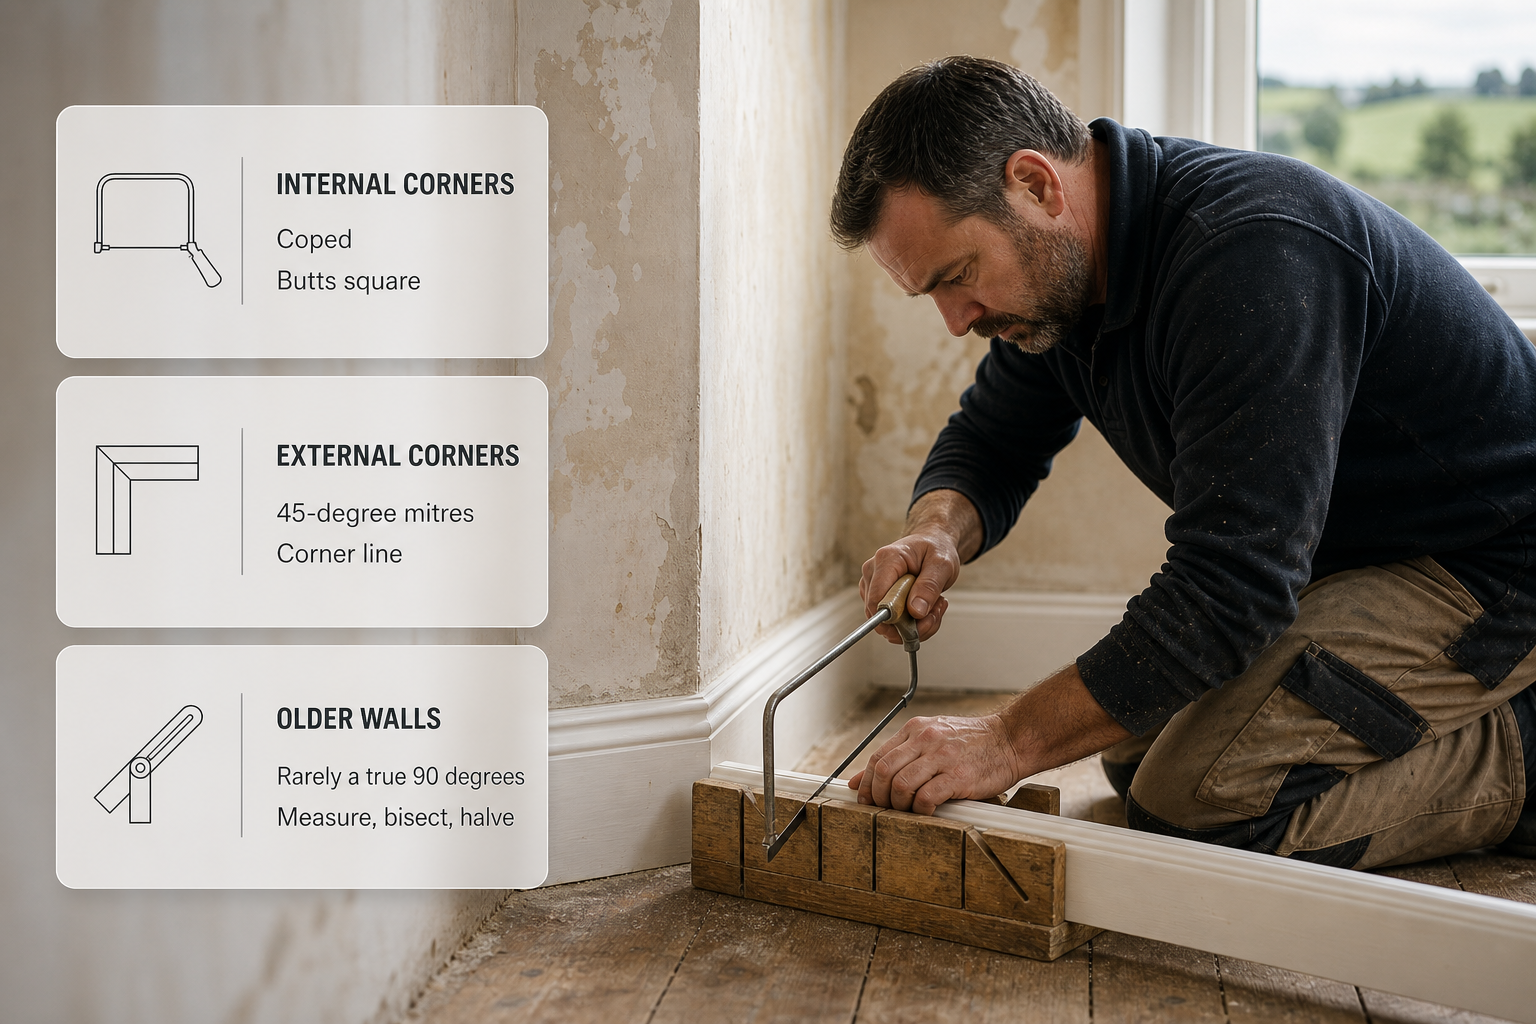
Internal corners last longest when they are coped. Fit the first board square into the corner. On the second board, cut a 45-degree mitre so its face edge runs into the corner, then cut away the waste with the coping saw, following the profile line left at the back of that mitre and angling the blade slightly back so only the front edge of the cope touches the adjoining board. The coped second board then sits tight against the face of the first board, and the two profiles sit over one another, which hides movement as the timber expands. A butt joint is quicker but opens with the seasons, and a mitre at an internal corner almost always shows a gap.
External corners need both boards mitred at 45 degrees so the joint falls on the corner line. Older walls are rarely a true 90 degrees, so measure the angle with a sliding bevel and set the mitre box to half of it. Glue the mitre, pin through the outer face to pull it closed, and punch the pins below the surface. Where a mitre still shows a hairline, flexible filler matched to the paint colour hides it better than forcing the joint.
Preparing walls, floors and surfaces
Old skirting comes away cleanly if the paint line along the top is scored with a knife first, then prised gently with a bolster chisel and a bar. Once the wall is bare, run a cable and pipe detector over it before drilling, scrape off old adhesive, and fill hollows so the new board has something flat to sit against. Bare plaster and filled patches should be primed before fixing, and damp staining behind skirting is worth investigating rather than covering, because trapped moisture lifts the paint finish later.
Older Irish homes: uneven walls, sloping floors and door frames
Solid masonry and lath-and-plaster walls bow, floors fall away from the chimney breast, and door frames sit out of square. Only the top edge of the skirting has to look straight, so pack the board out at each fixing point until that edge runs true, and leave thin packers glued behind the board where the wall dips. Where the floor slopes, hold the board at the right height on spacers, scribe the bottom edge by running a pencil along the floor with a small block, then cut and sand back to the scribed line instead of levelling the board and leaving a taper.
Door frames need a decision. Where the architrave is sound, the neatest result is usually to undercut its bottom end with a multi-tool or fine saw and slide the skirting underneath, leaving the moulding intact. Where it is damaged, it can be removed — score the paint first — the skirting fitted, and the architrave refitted over the board. Skirting normally goes back after plastering and after door frames are set, so it is one of the last tasks in a larger construction and home renovation project.
Choosing fixings: plasterboard versus masonry
On plasterboard, the soundest method is to find the timber studs with a detector and fix into them, with grab adhesive behind the board along its length. Dot-and-dab plasterboard often has no timber where it is needed, so plasterboard fixings rated for the load take the screws, and adhesive goes on in beads rather than a solid bed so air escapes and the board presses flat. Adhesive alone should not be trusted on a board that will be knocked, such as one beside a door swing.
On solid masonry, drill, plug and screw through countersunk clearance holes in the skirting, filling the heads afterwards. Lath and plaster is the awkward case, because fixings can pull through the keys, so generous adhesive plus fixings that reach the studs or the masonry behind is the reliable combination.
Skirting before or after flooring
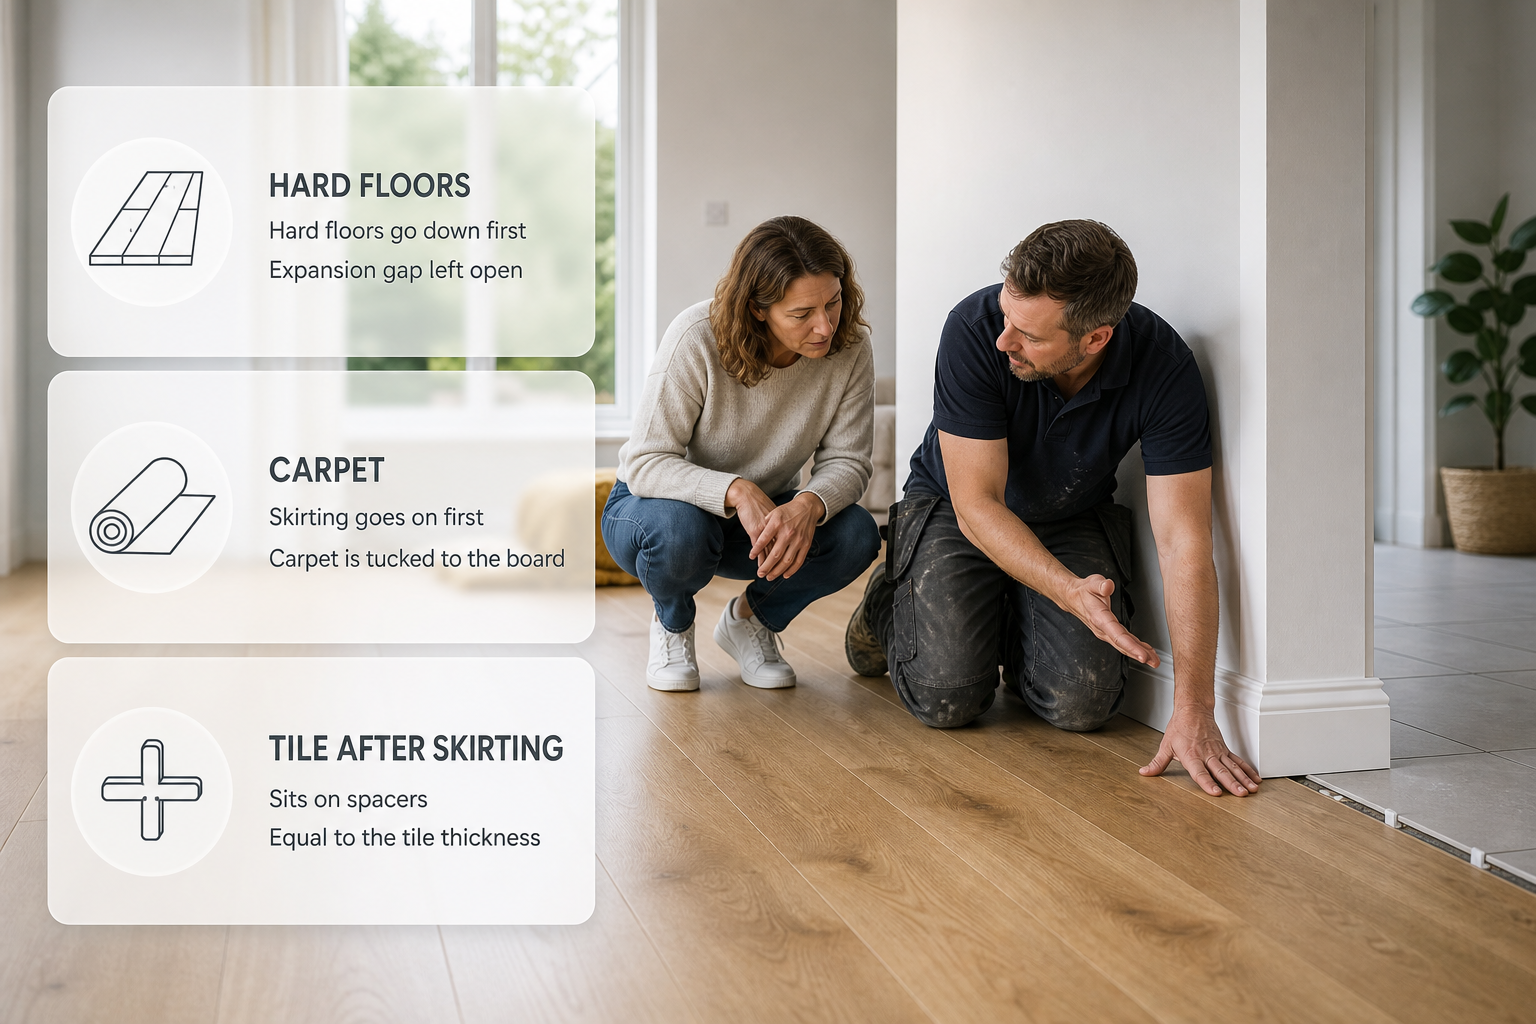
Hard floors go down first. Laminate, engineered wood and tile need to be fitted with their expansion gap left open at the wall, and the skirting is then fixed over the gap so the floor can still move; trapping a hard floor behind skirting causes buckling. Carpet is different: skirting goes on first, then the gripper rod, and the carpet is tucked to the board. Where tile is being laid after skirting for some reason, the board sits on spacers equal to the tile thickness and the spacers come out afterwards.
Fixing skirting to the wall, not the floor
Apply adhesive to the back in beads that stop short of the top and bottom edges so it cannot squeeze onto the finished face, press the board into position, and drive screws or pins into studs or plugs while the adhesive is still open. Countersink screw heads and punch pins below the surface. Fixings must never be driven down through the bottom edge into floorboards or a floating floor: the floor moves, the skirting does not, and a crack opens along the joint. On a level floor the board sits on thin spacers that come out once it is fixed; where the floor slopes, the scribed board sits on the floor itself. Leave the adhesive to cure for as long as the manufacturer states before filling and painting.
Filling, caulking and painting for a durable finish
Punch every pin below the surface, fill the holes with fine surface filler and sand flush when dry. The joint between the top of the skirting and the wall shows most, so run a thin bead of paintable flexible caulk along it, smooth it with a damp finger or a caulking tool, and wipe the excess immediately; over-wetting pulls caulk out of the joint. Seal the bottom edge only where a visible gap remains beside a hard floor, and leave it where carpet gripper will cover the line.
Prime bare MDF cut edges and any softwood knots, because both soak up paint unevenly. Apply a primer coat and then two finish coats of trim paint, sanding lightly between coats and cutting in along the top edge. Caulk and filler must be dry before paint goes over them, or the finish crazes.
When to hand skirting work to a carpenter
Curved bay windows, long uninterrupted runs, ornate period mouldings and walls that wander in and out over their length are quicker to sort with a carpenter who can copy a profile and cut joints that close by hand. Homeowners can list the job on ShamFix with photos of the room and the existing trim. Posting a job and listing on ShamFix is free and there is no commission, and a subscription is planned for the future. ShamFix does not check or certify tradespeople, and profiles are filled in by tradespeople themselves, so homeowners should check registrations themselves and read reviews before appointing anyone.
FAQ
How high should skirting boards be fitted?
The safest rule is to match the existing skirting elsewhere in the house, or to line the new top edge up with the underside of the architrave and the bottom of the window reveal where those features are present. Replacing one room at a time works best when the height and profile stay the same throughout. The board must also be deep enough to cover the expansion gap at the edge of a hard floor.
What is the neatest way to fit skirting around a radiator pipe?
Cut the board as two pieces that meet at the pipe, with a slot cut back from the bottom edge of each so they slide together around it. A pipe collar or rose covers the joint and the cut edges and should sit flush against the face of the board. Fit the collar before painting so it can be painted with the skirting, or leave it in its own finish if the pipe is being painted separately.
How do you remove old skirting without damaging the plaster?
Score the paint bead along the top edge with a knife, then work a bolster chisel or flat bar behind the board and prise at several points along its length rather than levering hard at one spot. Old boards are usually nailed to the wall or to a timber ground, so the fixings release before the plaster does. Where plaster does come away, patch and prime it before the new board goes on.
What is the best way to join two lengths of skirting on a long wall?
Use a scarf joint rather than a straight butt: cut the end of each board at a matching 45-degree angle through its thickness, so one end laps over the other where they meet. Glue the cut faces, push the joint closed and pin through it. A scarf stays tight as the boards move, and it should be sited away from the busiest sightline in the room.